If you’re looking for something easy, inexpensive to hype up your favorite area, call chalk paint a “super hero.” No sanding, no priming, no nothing. All you do is take a paint brush to your furniture, add as many coats until you’re heart is content and wax it. That’s it.
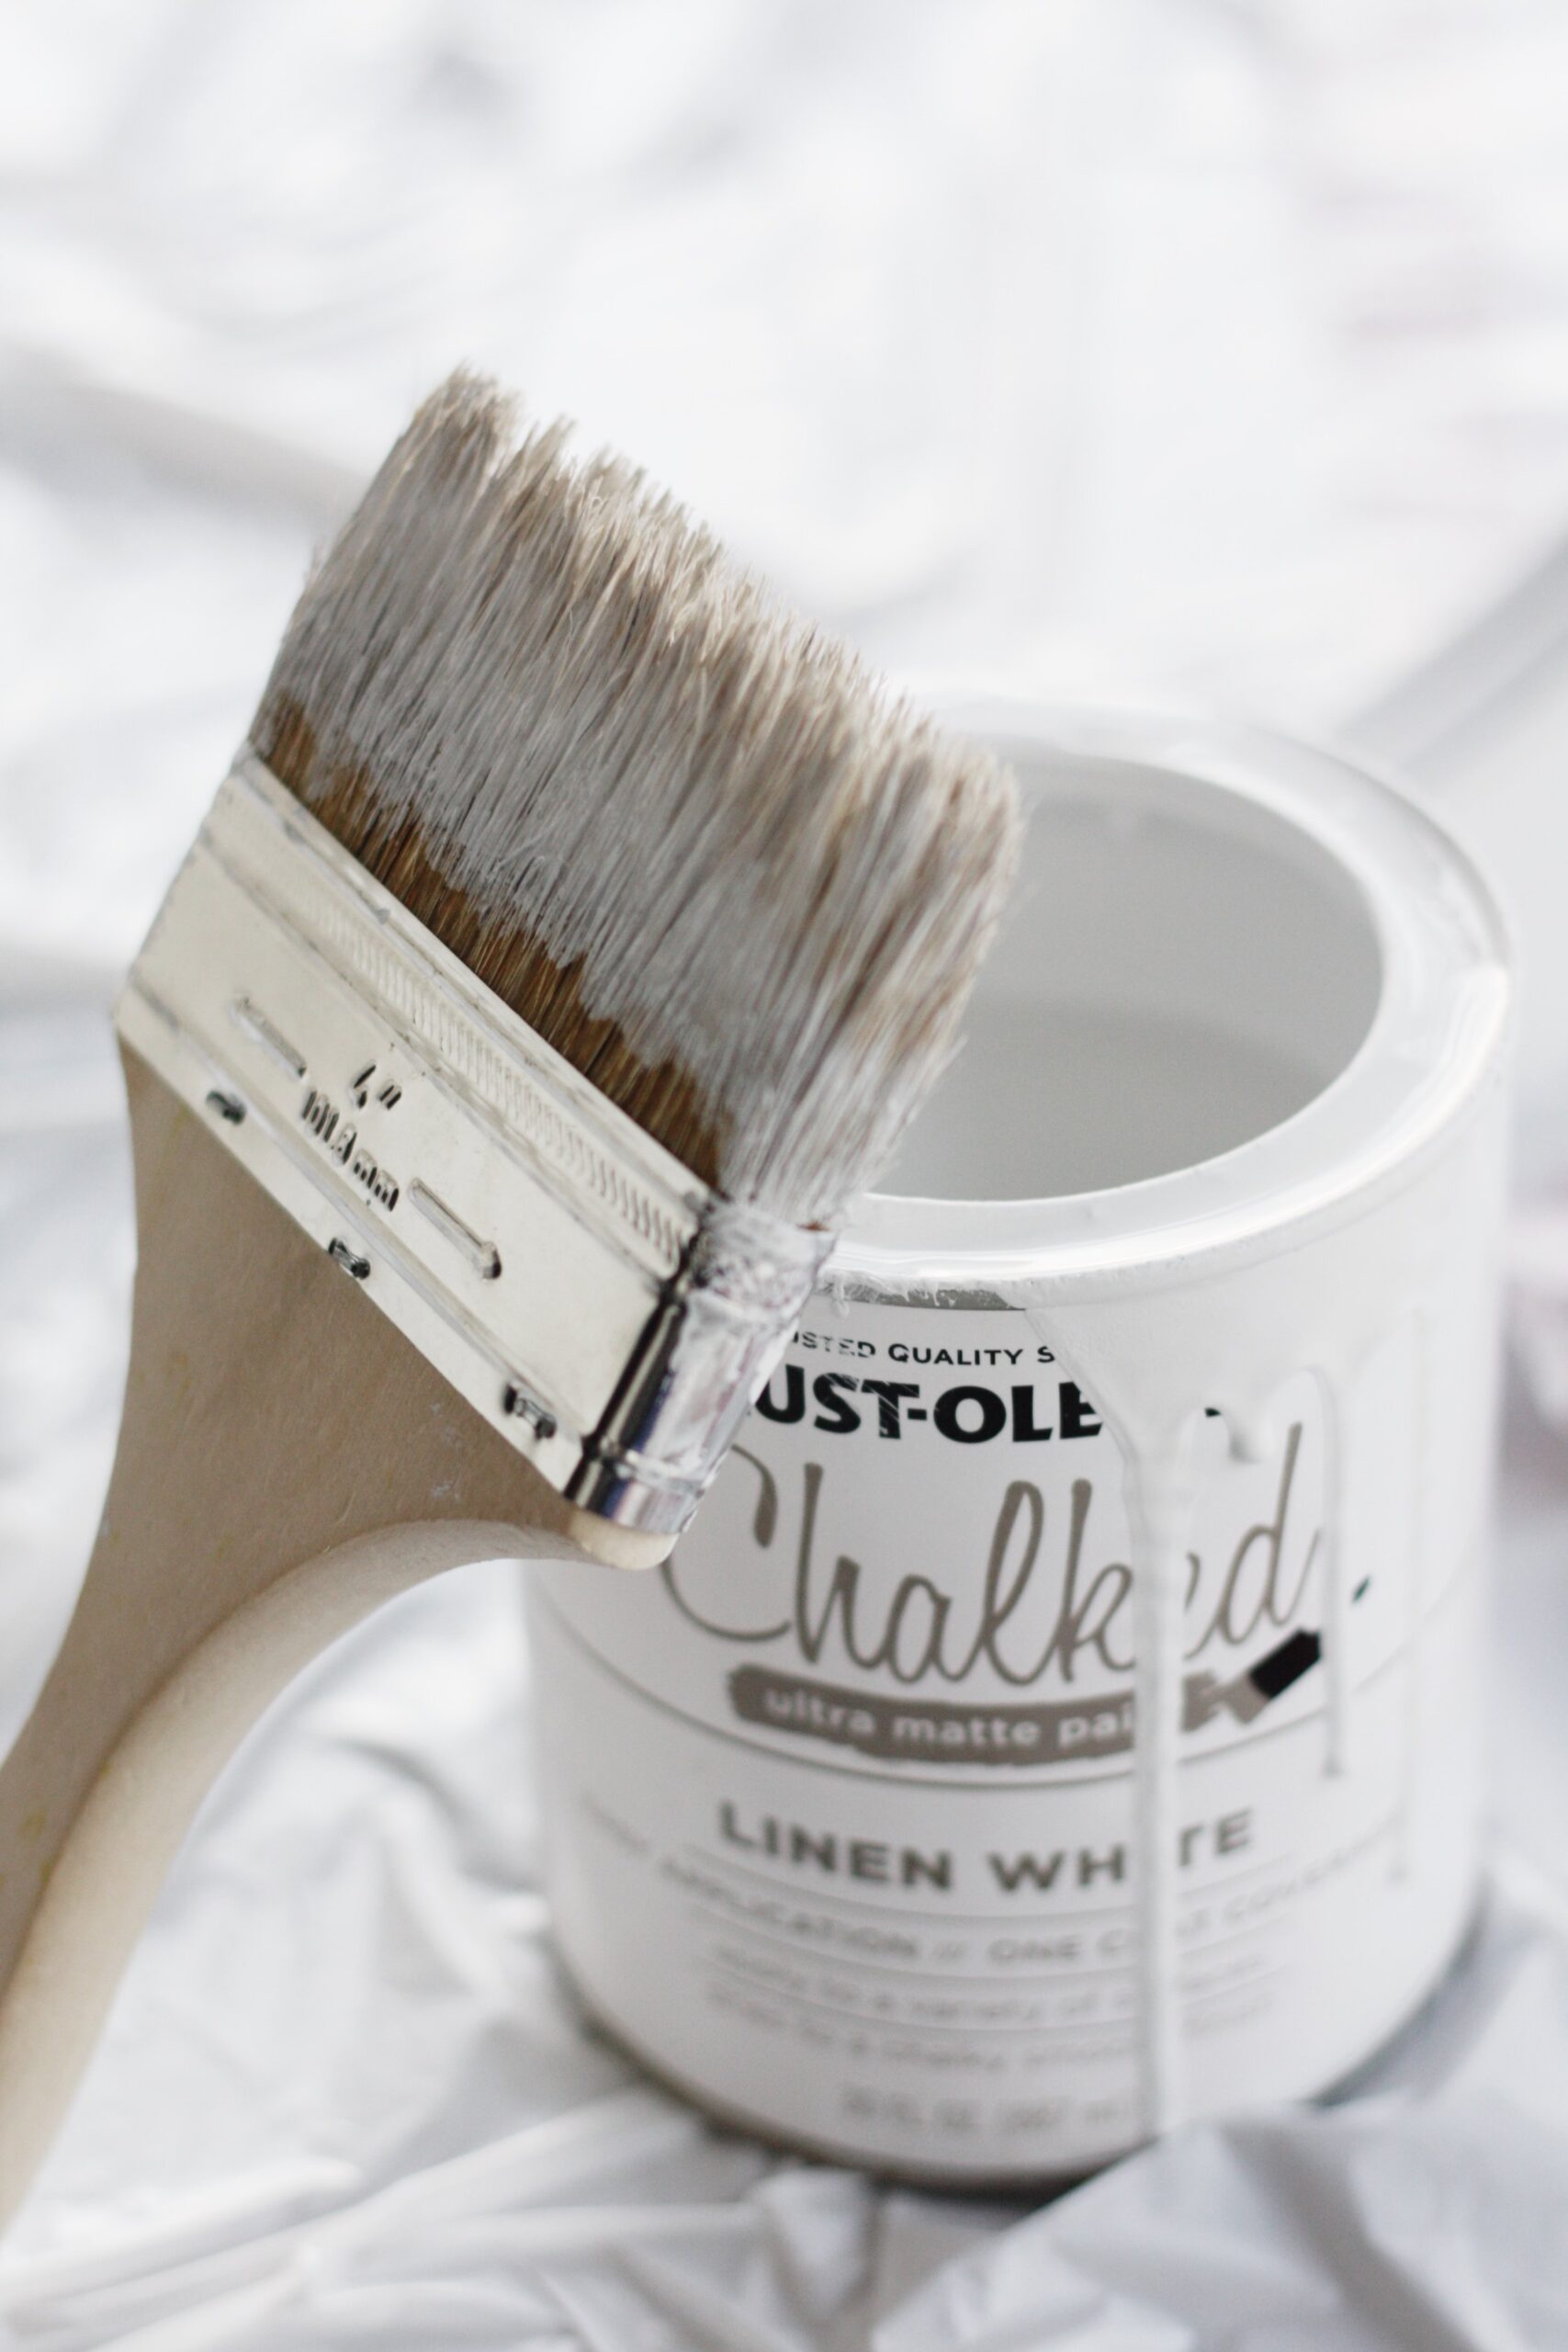
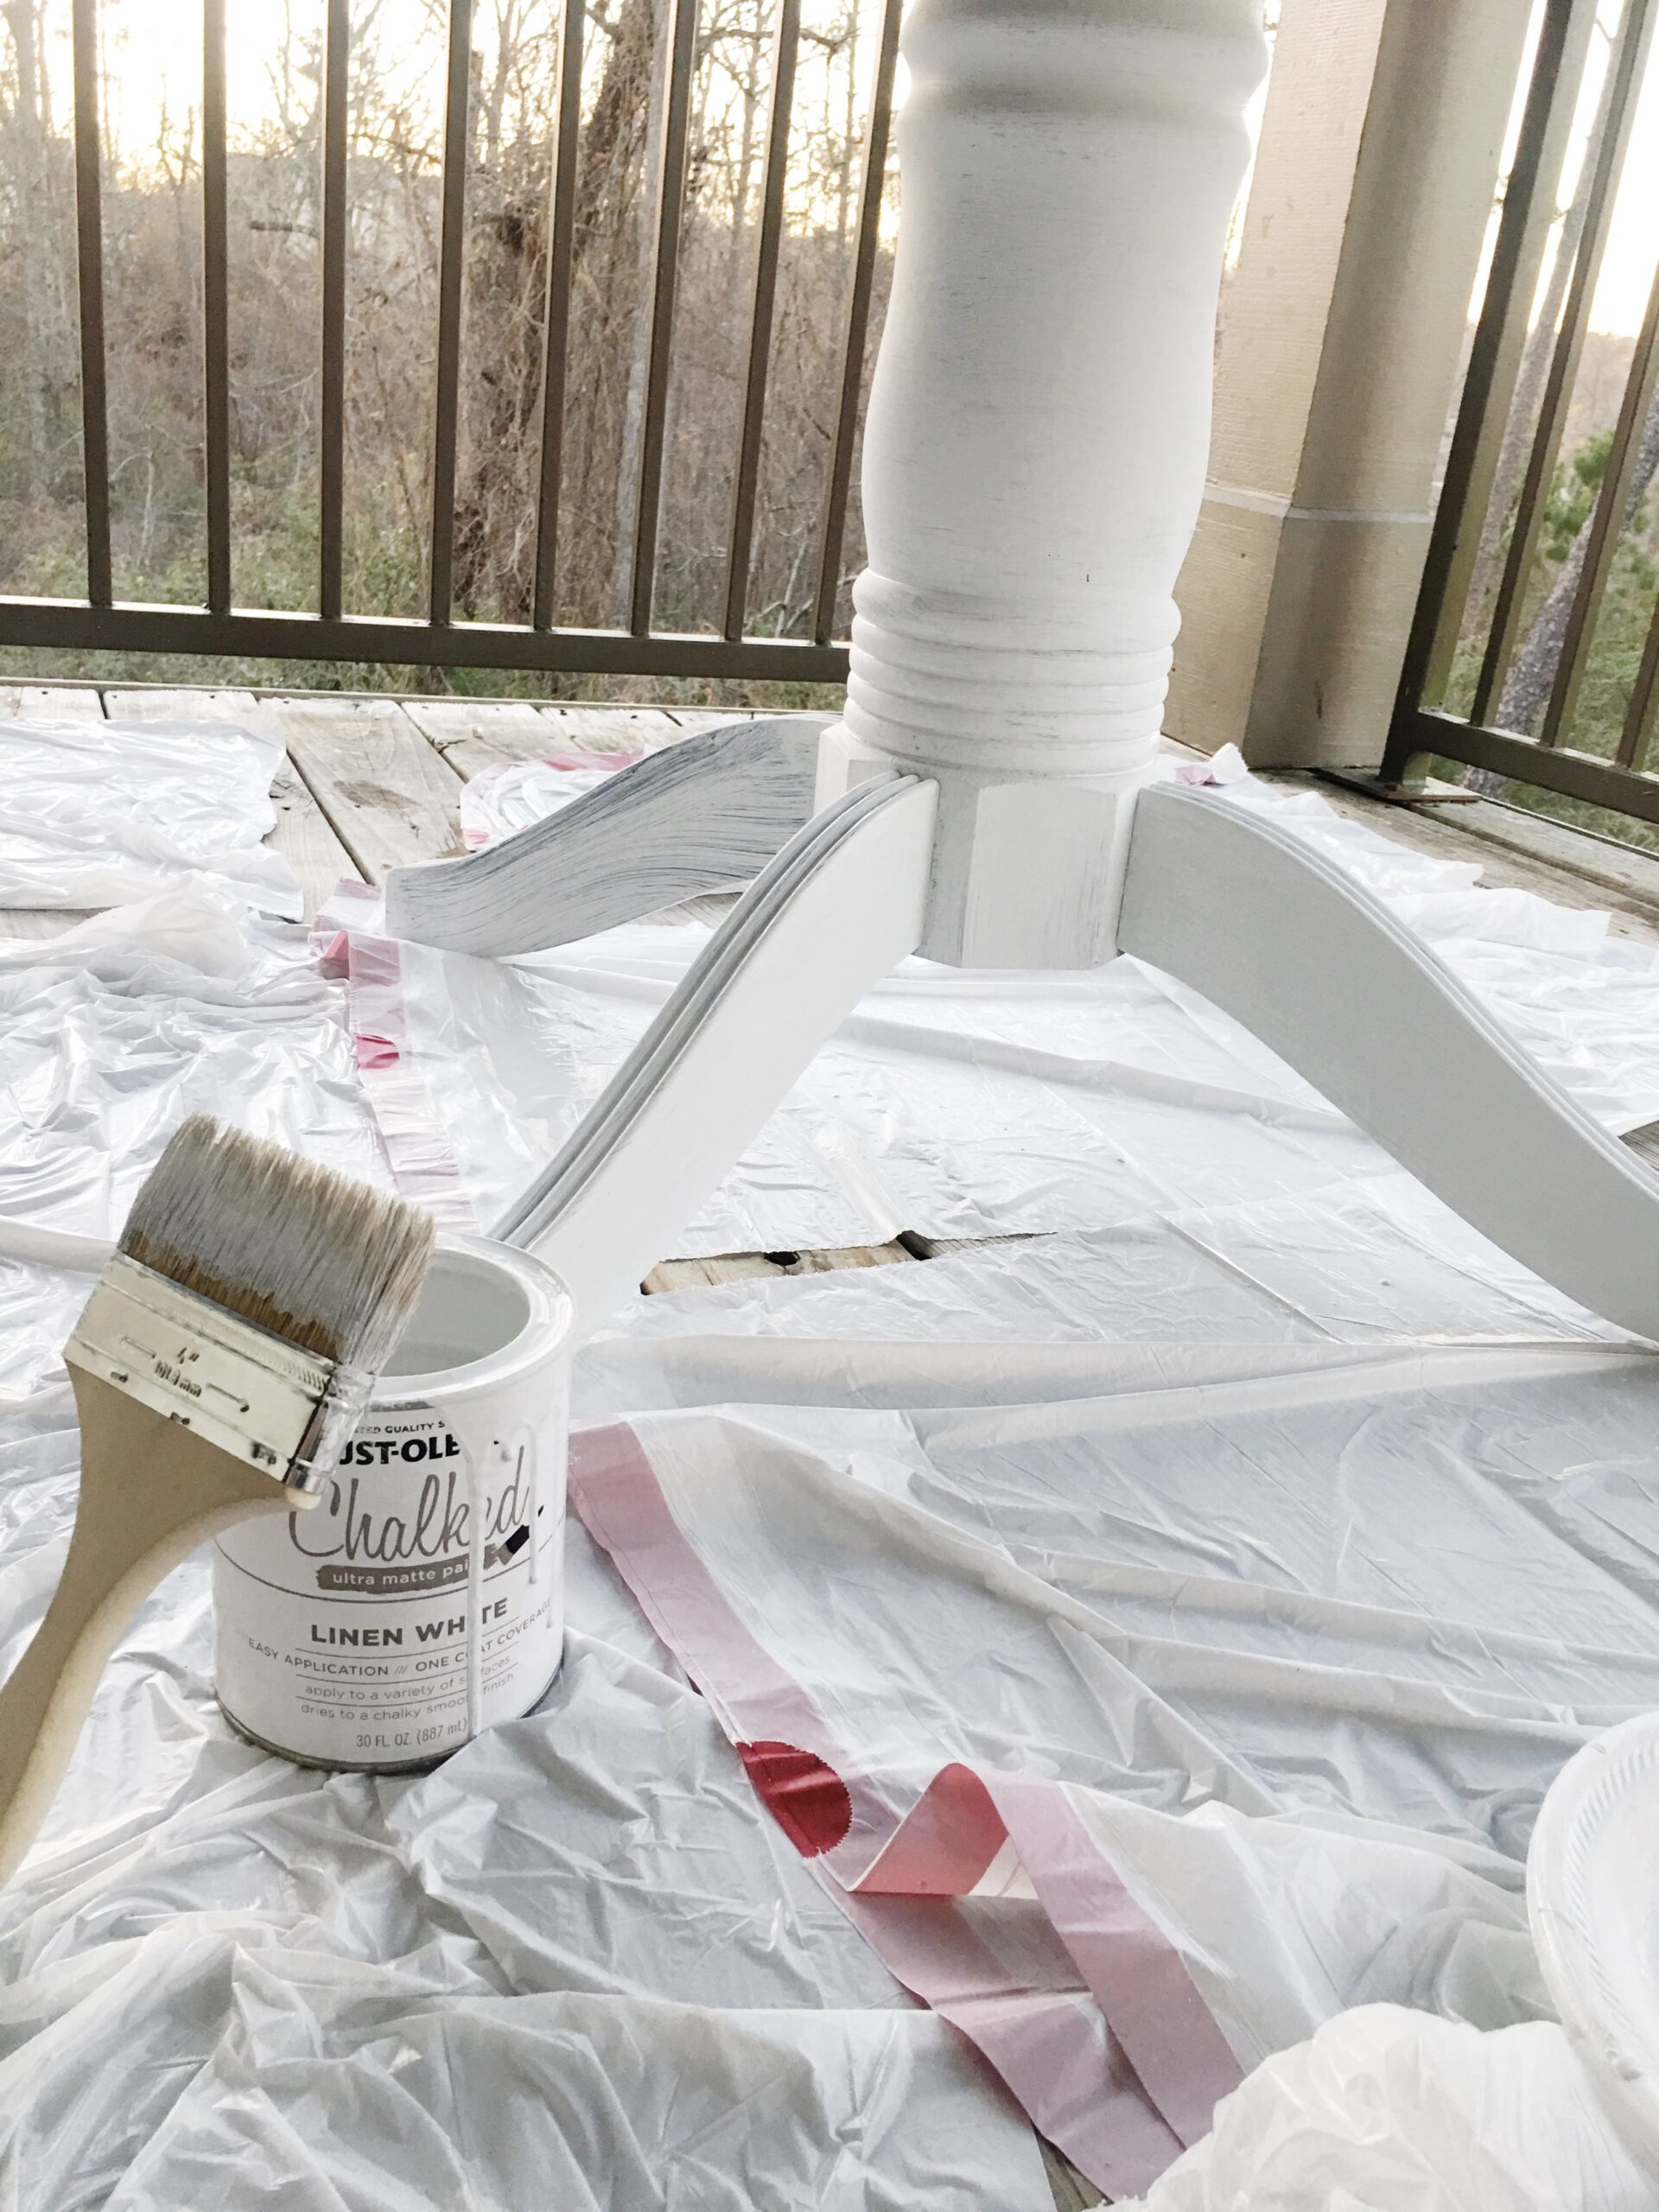
They’ll try and sell you the name brand chalk paint and wax with the name brand painting brush and name brand waxing brush but it’s not needed. So, save yourself and your wallet. We bought the chalk paint from Home Depot and a regular thick bristled, shorter brush with the wax and lent-free cloths for waxing. We used styrofoam plates (left over from the move) and poured the paint, a little goes a long way. Put the paint brush in the paint and apply to the furniture. We used probably three coats per project. Feel free to use cotton swabs or any other tool to get into any crevices that your piece might have.
If you accidentally spill paint or find splatters anywhere, it’s a quick and easy clean up with a wet cloth and a little elbow grease.
If you just can’t get your top coat “perfect” try adding a small bit of water, mixing it together with the brush and applying it. It goes on more smoothly, it’s more runny though so be careful. It takes care of any of the left over brush strokes.
If there’s any parts of the pieces that look a little worn, I embraced it because you are, in fact, painting with chalk paint which is normally used for the antique look. Do not distress until fter applying rthe wax. Weird huh? You can apply distress using sandpaper and such.
The wax should be a good thick coat to avoid any quick wear. However, if it’s tacky feeling, you’ll need to buff it because you used a little too much. As they say, “wax on, wax off.”
Happy paining, friends!
xoxo



+ show Comments
- Hide Comments
add a comment